Innovations
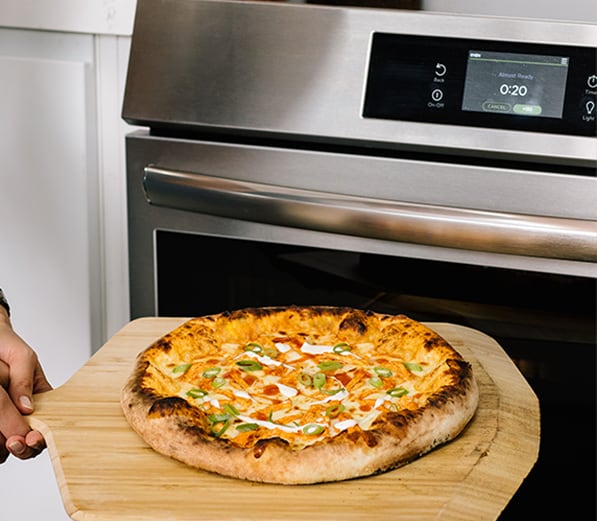
New Stone-Baked Pizza Mode
LEARN MORE

CrispSeal® Fresh Crispers

You haven't registered any appliances yet.
Service & Maintenance


Open shelves in a kitchen are not only an easy and practical way to add more storage to your space — they also add a touch of modern design.
Step 1
Measure your space: Pick the area of your kitchen you’d like to place the shelves. Decide how many shelves you’d like, how long, far apart and how high the shelves will be. Look for studs in the wall, and if you can’t locate them, you can use anchors. If you’re planning on placing heavier items on the shelves, use studs if you can.
Step 2
Select your materials: Get brackets and wood pieces at your local hardware store. To save time, have the wood pieces cut to your desired length at the store. Pick up a container of stain in your desired color, along with some polyurethane.
Step 3
Stain shelves: Lay a tarp down in your work area. Apply a thin coat of stain using a quality brush. Wipe away the excess stain with a clean cloth. After it’s dried completely, apply a coat of polyurethane. Spray paint your brackets black if desired and let them dry overnight.
Step 4
Hang brackets: Mark on your wall where your brackets will go.
If you’re using studs: While holding the bracket in place, use a drill or screw gun with a screw bit to secure the screws into the studs.
If you’re using an anchor: Drill a pilot hole into the wall to make a place for the anchor with a tile or glass bit – gently tap the anchor into the drill hole until it’s flush with the wall. While holding the bracket, install the screw with the screw bit into the anchor.
Step 5
Add shelves: Secure the wood shelves to the brackets. Use short screws so they don’t pop through the underside of the bracket. Repeat for each shelf.
Open Wood Shelves Tip: Worried about dust? Place items you use everyday on the open
shelves. For those items that may have collected a bit of dust, give them a quick rinse.