Innovations
Discover Air Fry
NEW IN COOKING
DISCOVER TOTAL CONVECTION

You haven't registered any appliances yet.
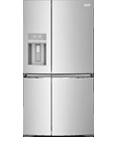
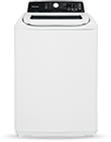
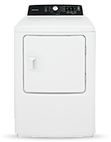
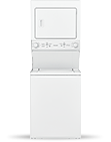
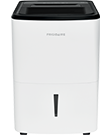
Your Appliance
Your Appliances
You haven't registered any appliances yet.
Resource Library
Service & Maintenance


Creating a DIY backsplash is a simple way to add a bit of style to your kitchen while also protecting the walls from spills and stains. You can make your own backsplash in five simple steps.
Step 1
Select your tile: Find the shape and color of the tile that fits your space. Working with sheets of tile, rather than individual tiles, will be easier and faster to install.
Step 2
Hang backer board: Use a backer board to create a smooth surface to apply your tiles to. If you are applying to a new dry wall, you can sand it first to roughen it up, and apply tile right to the dry wall.
Step 3
Apply tile and insert spacers: Use a notched trowel to apply the mastic across the wall. If you have hard-to-reach corners, use a smaller trowel and apply mastic directly to the tiles' backs. This is called back buttering.
Starting in the center of your space, press a sheet of the tile into the wall. Work your way out, adding more sheets of tile. Be sure to use spacers between tiles or sheets of tile to match the space between the tiles.
Step 4
Custom Cut Tile: If you need a custom cut tile, measure the tile, mark it with a grease pencil and then use a wet tile saw to cut it to size. Before you apply the mastic, hold the tile into position to make sure it fits the space. Apply the mastic and then press the tile into position. Let the tiles dry overnight before grouting.
Step 5
Apply Grout: Pick your grout based on the tile you are using - sanded or unsanded. Ask your tile manufacturer which is the best grout to use. Also find out if you need to apply a sealant before you grout. Mix your grout powder with water in a clean bucket using the flat margin trowel. Stir until it's the consistency of cake butter. Remove the spacers from the backsplash and wipe down tiles with a barely wet sponge to remove any dust.
Use a rubber trowel to apply the grout in sections. Move back and forth to push the grout into the spaces between tiles. Don't worry if the tiles are getting dirty. Once you've finished grouting, use clean water and a sponge to wipe off grout from the surface of the tiles. Wipe lightly, and be sure not to remove the grout from between the tiles. Get off as much as you can now, and once the grout is dry, take another pass at it with a clean cloth.